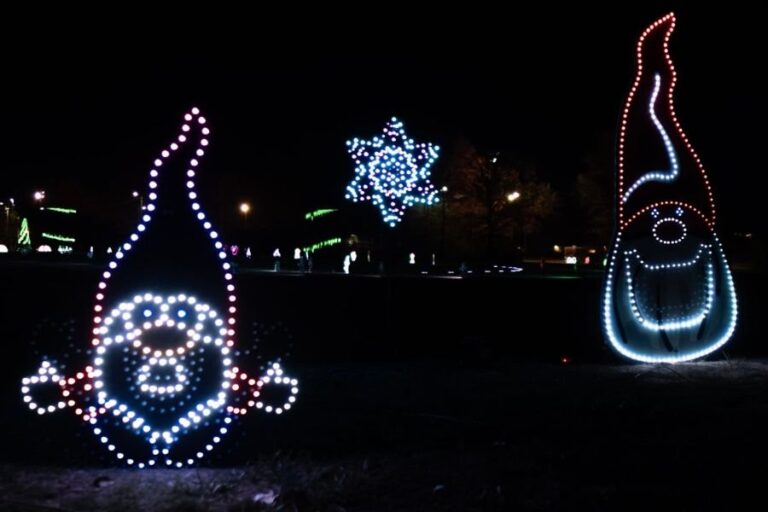
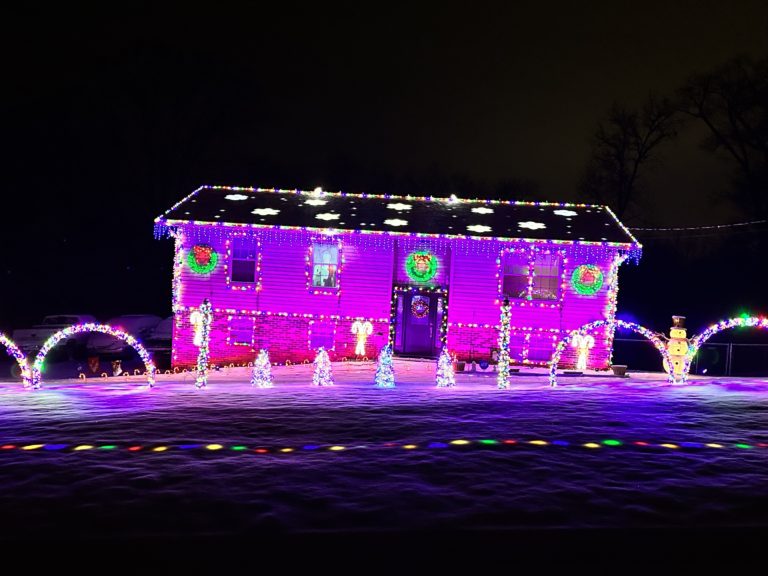
Capturing Christmas light displays at night can be a daunting task, especially when all you have is your camera phone. But with the right lighting techniques, camera settings, and editing know-how, it’s possible to achieve stunning photography in low light conditions. In this blog post we’ll explore some helpful tips for taking amazing night photos with your camera phone.
Table of Contents
Use the Phone’s Built-in Flash Sparingly
Using your camera’s flash is often the first instinct when it comes to taking photos in low light. However, using the flash can make your photo look flat and harsh.
Use a Flashlight Instead of the Camera’s Built-in Flash
Instead, try using other sources of light such as a flashlight to create more dynamic lighting on your subject. By using an indirect light source, you can create a softer, more even light that is much more flattering.
Handheld Flashlights
These are the most common type of flashlight, and they are designed to be held in your hand. They are portable and easy to use, making them a convenient option for illuminating your subject. However, a handheld flashlight is challenging to use in one hand and holding your phone camera in another hand.
Keychain Flashlights Are Convenient
These are small, compact flashlights that can be attached to your keychain for easy access. They are convenient for illuminating small areas or for use as a backup light source. Keychain flashlights are small, lightweight flashlights typically attached to a keychain or lanyard. They’re incredibly handy and convenient due to their size, but still powerful enough to provide you with the light you need in an emergency. Most keychain flashlights come with LED bulbs that produce a bright, focused beam of light and last for years without needing to be replaced. Additionally, some keychain flashlights feature multiple settings such as strobes, which are not helpful for capturing Christmas displays at night, and different intensity levels, which are very helpful in framing a great photo of Christmas light displays.
Tactical Flashlights Are Durable and Powerful
Tactical flashlights are designed for use in military or law enforcement situations, and they are usually more durable and powerful than other types of flashlights. They can be a good option for illuminating larger areas or for taking longer exposures.
Headlamps Are Convenient
Headlamps are flashlights that are mounted on a headband, allowing you to have hands-free lighting while you take photos. They are useful for illuminating your subject while you are on the move or freeing your hands for things like your phone’s camera. Headlamps are essential pieces of outdoor gear that provide hands-free lighting. They typically include a battery pack and an adjustable headband, with the light mounted in front of the wearer’s forehead. This allows you to focus your vision on whatever task you are performing while still being able to see what lies ahead. Headlamps come in a range of brightness levels, making them suitable for different tasks, such as camping trips or illuminating dark paths when hiking at night. The level of beam control also makes them versatile; narrow beams can help users navigate through tight areas or spot wildlife in the darkness, while wide beams can be used to illuminate large Christmas light displays.
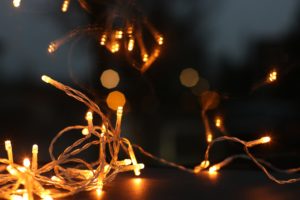
Opt for LED Lights
LED flashlights and headlamps are becoming increasingly popular due to their long battery life and bright, energy-efficient light. They are available in a range of sizes and shapes, and some models even have adjustable beam patterns. LED flashlights offer several advantages over incandescent ones. First, they are more energy-efficient, using up to 90% less power than their incandescent counterparts. This means you can use your LED flashlight longer without needing to recharge it. Additionally, LEDs typically have a longer lifespan since they don’t burn out like incandescents do. They are also more durable and can withstand drops, knocks, and other impacts without failing. Finally, LEDs can generate brighter light with a broader range of brightness levels, making them perfect for tasks that require higher levels of illumination.
Steady Your Camera
When shooting in low light conditions, camera shake can be a major issue. To help prevent camera blur, try steadying your camera phone with a tripod or monopod. This will help to ensure that your camera stays stable and steady when taking photos. However, there are considerations when selecting a tripod or monopod. Then, after selecting a tripod or monopod there are many different types and features to consider based on your intended usage.
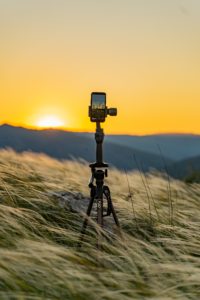
Benefits of a Tripod
A tripod is a three-legged support device that is used primarily to take photographs or videos. It’s designed to provide extra stability and reduce camera shake, allowing for sharper and clearer images. Tripods are often bulkier and more time consuming to set up when compared with monopods. However, they offer more flexibility since the legs can be adjusted independently to different angles, heights, and depths.
Tripods are often preferred over monopods because they provide hands-free stability where a monopod is still affected. Tripods also offer more flexibility when it comes to adjusting various angles of the camera like the height and tilt of the camera without having to move it manually. Additionally, tripods allow for use of heavier equipment like telephoto lenses, which adds a lot of extra stability while shooting. Tripods often come with useful additional features such as bubble levels and panoramic heads that make your photography experience much smoother and easier.
Benefits of a Monopod
A monopod is a single-legged support device that is used primarily to take photographs or videos. Monopods are much more portable than tripods since they usually only have one leg which folds up into a small package. They can also be used as walking sticks or hiking poles, allowing you to stay steady while exploring the outdoors.
Monopods are often preferred over tripods because they are much more portable and easier to set up. Monopods also require less room for setup, so if space is an issue or you need a lighter setup, monopods are a great option.
Adjust Your Phone’s Exposure Settings
When shooting at night, it’s important to adjust the exposure settings on your camera phone. By increasing the shutter speed and ISO setting, you can capture more light in your photo without overexposing it. Additionally, make sure to adjust the white balance to make sure that colors in your photo appear as natural as possible.
Shutter Speed
Shutter speed is the amount of time a camera’s shutter is open to expose light to the image sensor. This determines how quickly or slowly you can capture a moving object. Faster shutter speeds (1/1000th of a second or faster) will freeze movement, while longer shutter speeds (down to 1/2 second or longer) can create beautiful, blurred effects by showing the way an object moves through space over time. Shutter speed is one of the three pillars of photography.
ISO
ISO is the measure of a camera’s sensitivity to light. A higher ISO value means that the camera will be more sensitive to light and result in brighter photos. However, increasing ISO also comes with trade-offs, such as increased image noise or grainy textures.
White Balance
Camera white balance is the process of adjusting a camera’s color settings to accurately represent the colors in the scene being photographed. It works by setting a “neutral point” where all other colors are calibrated around. White balance is important because it helps ensure that your photos look as natural and accurate as possible, without any weird color casts or tints. You can adjust white balance manually on most cameras or have it set automatically, depending on the situation.
Use Night Mode on Your Phone Camera
Most camera phones have a “night” or “low light” mode that is specifically designed for taking pictures at night. This mode increases the camera’s sensitivity to light, allowing you to capture more light in your photo without overexposing it.
Experiment with Different Compositions and Angles
Experimenting with different camera angles and compositions can help to add interest to your night photography. Try taking photos from a bird’s eye view or shooting with a longer lens for unique perspectives. Additionally, play around with camera movement and panning to add motion to your photos.
Edit Your Photos to Enhance Color and Contrast
Editing is an important part of night photography, as it can help to enhance the color and contrast in your photo. Try different levels of brightness, contrast, and saturation to bring out the details in your night photo. Additionally, you may want to tweak the white balance and tint if needed.
Taking photos of Christmas light displays at night can be a challenging task, but with some camera settings tweaks, lighting tricks, and editing know-how, it’s possible to achieve stunning photography in low light conditions. By following these tips for taking great pictures at night with your camera phone, you can get beautiful night photos that will look just as amazing as professional shots. So grab your camera phone, head outside, and start capturing the beauty of Christmas lights at night!